Access The Nook Stop Terminal Every Day
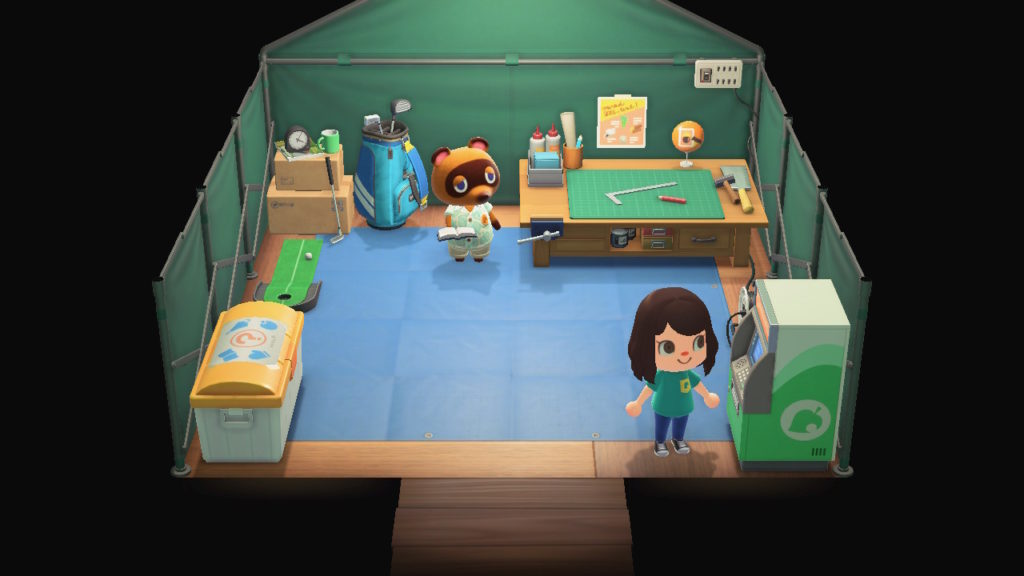
Everytime you access the Nook Stop Terminal, you will be rewarded with Nook Miles simply for checking in for that day. However, the amount of Nook Miles awarded for checking in increases with every consecutive day that you do so. You will receive 50 Nook Miles when you first interact with the terminal. This amount will increase each day, up until day 7 where the amount will be capped to 300 Nook Miles. You will continue to receive 300 Nook Miles from the terminal for every consecutive day you interact with it.
Beware Of Dangerous Creatures
Although you will only be able to access a small part of your island initially, you’d be surprised at the amount of dangerous creatures you may encounter. A lot of DIY recipes in the game require wood. In order to obtain wood, you need to hit trees with an axe. And therefore sooner rather than later you are going to encounter wasps unfortunately. Wasps essentially replace the role of bees in the previous mainline animal crossing games. In previous games, shaking trees ran the risk of disturbing a beehive, which would result in an angry swarm of bees chasing and stinging you unless you could seek shelter in a nearby building. The wasps are just as angry as those bees, and so stocking up on medicine is a very good idea. Medicine can be purchased from Timmy in the Residents Service Tent, or from Nook’s Cranny once you have unlocked it.
Scorpions and tarantulas also roam your island. Thankfully for the arachnophobes amongst us, they only come out at night. If you discover one, my advice is to run for your life, as if they catch sight of you they will chase you and attack. You will then faint and be sent back to your house. They do fetch a pretty penny if you manage to catch one, so if you’re crazy enough to want to do so, here’s some guidance on how to catch a tarantula or scorpion.
Pocket Organization Guide
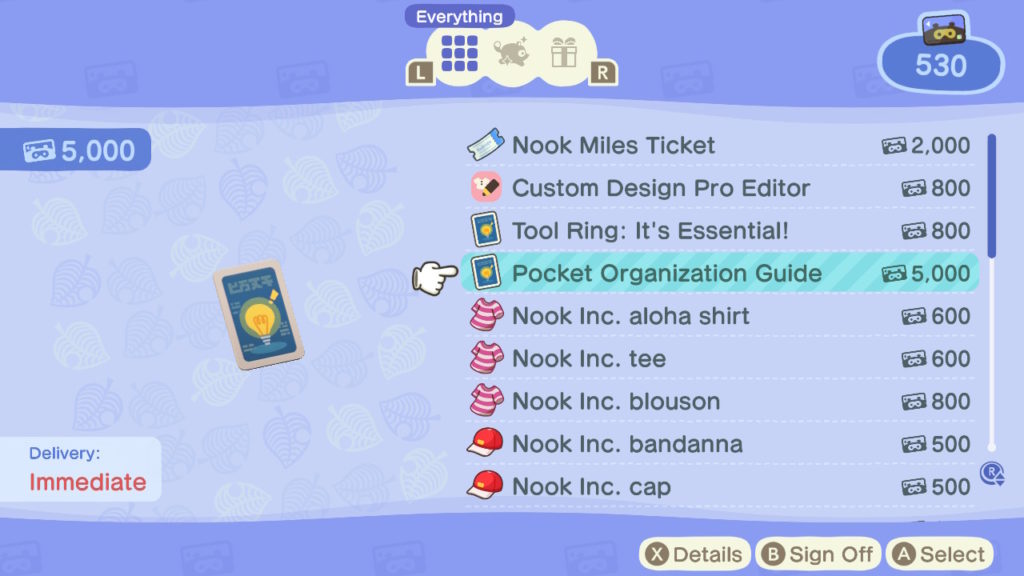
Be sure to get the Pocket Organization Guide as soon as possible in order to maximise the number of slots in your inventory. 20 inventory slots might seem like a lot. However, with the crafting element of the game requiring resources, you will soon find yourself needing more slots. You can expand your upgrade to 30 inventory slots by purchasing the Pocket Organization Guide for 5,000 Nook Miles from the Nook Stop terminal at Resident Services. Later on in the game, you will be able to have 40 inventory slots with an upgrade called ‘Ultimate Pocket Stuffing’. This upgrade will cost you 8,000 Nook Miles.
Not All Tools Will Be Craftable Straight Away
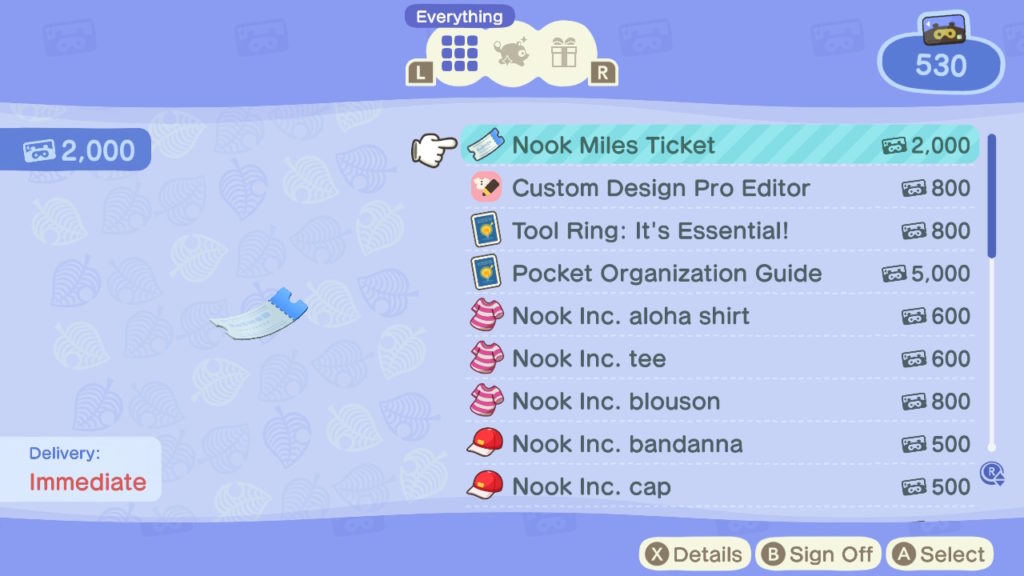
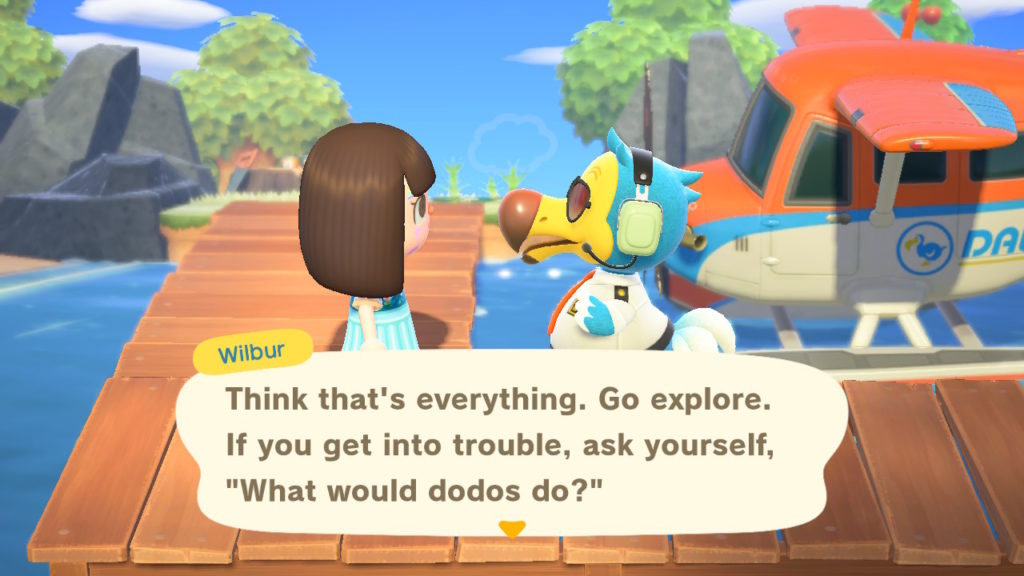
You may be disappointed to find that you can’t craft all of the tools you want straight away. Tom Nook will give you a recipe for a flimsy fishing rod and flimsy net, which can be crafted at the workbench in the Residents Services tent. The slingshot and watering can recipes can be bought from the nooklings, although you may have to wait a few days as the recipes rotate. In theory, you are only able to get the shovel recipe (and vaulting pole recipe) once Blathers visits the island. Once you craft a shovel, you can hit rocks to get the iron nuggets necessary to craft an axe. But to save time, there’s a bit of a loophole to speed things up. If you purchase a Nook Miles Ticket from the Nook Stop terminal for 2,000 Nook miles, you can head to the airport and visit a randomly selected deserted island. Once there, speak with Wilbur and you will be able to purchase any flimsy tool for 100 miles each. You can bring back these tools, as well as anything you find on that deserted island back home with you.
Other perks of using a Nook Miles ticket
As well as being able to buy tools from Wilbur, there are other perks to visiting a deserted island. Before unlocking the vaulting pole and ladder, collecting the iron nuggets necessary for DIY recipes can be frustratingly slow-going. Visiting a deserted island gives you the opportunity to hit more rocks with a shovel and obtain resources. In addition to this, deserted islands may have fruit different to your native fruit and plenty of fauna and critters. You may even encounter a character there who you’d like on your island. After chatting with them a couple of times, you will be able to invite them to your own island.
Only Fools Use Flimsy Tools
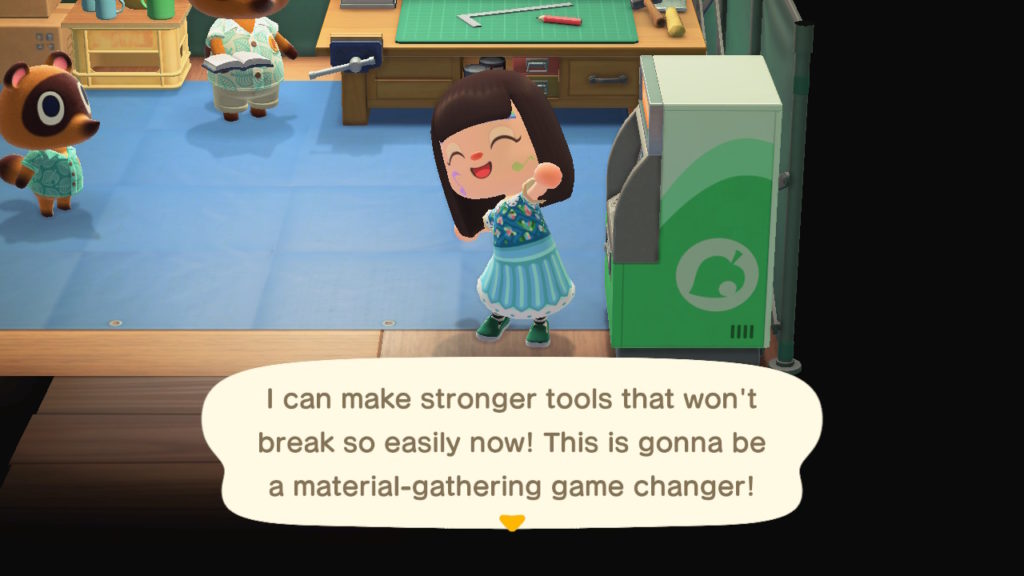
Once you have acquired a decent amount of iron nuggets, it’s a good idea to purchase the ‘Pretty Good Tools Recipes’ item. This can be obtained from the Nook Stop Terminal for 3,000 Nook Miles. The cost may seem a bit steep, but it’s totally worth the investment. As soon as you purchase it, you can craft stronger tools which last a lot longer than their flimsy predecessors.
Beware How Many Whacks You Give A Tree With Your Axe
The flimsy axe and stone axe are craftable relatively early on in the game. Neither of these two axes are strong enough to fell a tree. Therefore you may wish to upgrade to the simply-named ‘axe’ if you wish to chop down any trees, or find that your flimsier axes are breaking frequently. The ‘axe’ is stronger than its predecessors. Therefore when collecting wood for DIY recipes, be careful not to chop at a tree more than twice, as the third blow will take it down.
Make Sure You Have A Slingshot
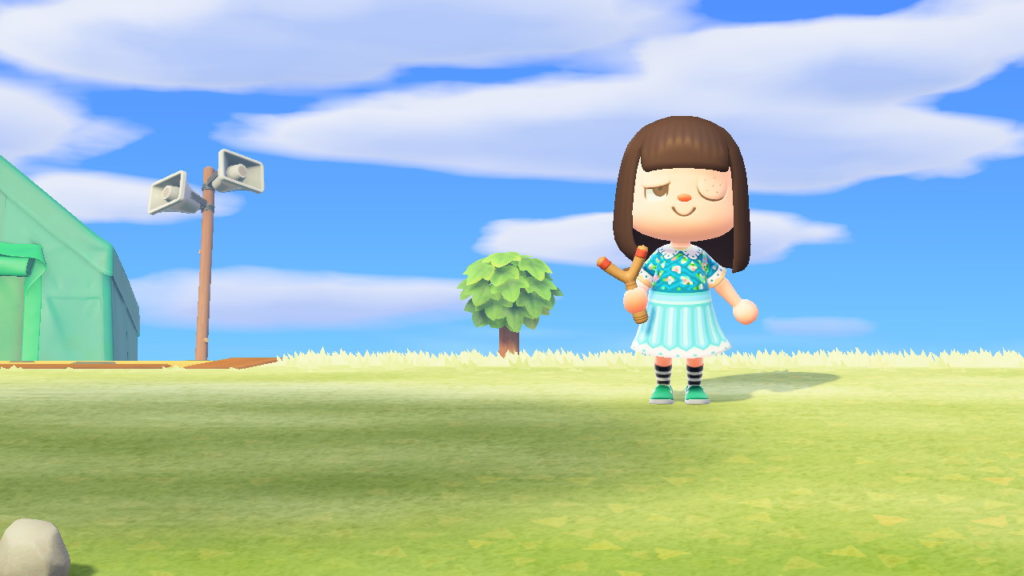
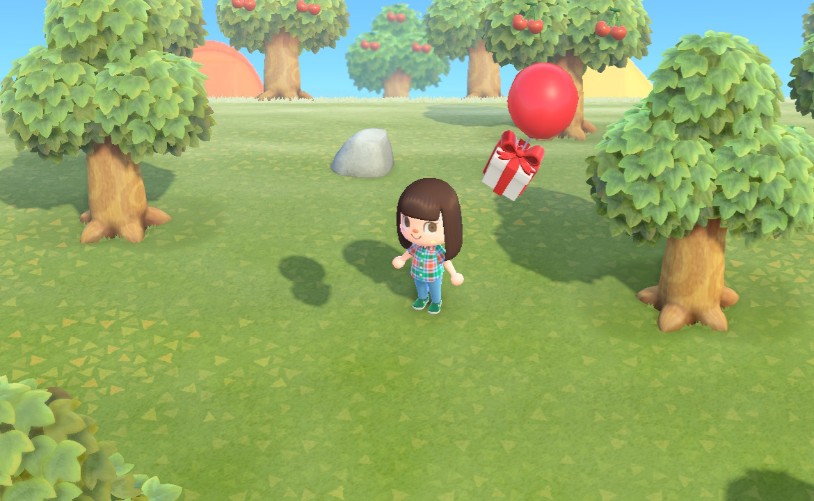
A slingshot can be purchased for 900 bells, or crafted with 5 pieces of hardwood. Once you own a slingshot, make sure to look (and listen) out for floating balloons with presents attached. One way of noticing a nearby balloon is listening for the whooshing sound it makes as it floats by. When equipping your slingshot to shoot the floating present down, make sure that it won’t fall into a river or other body of water. However, there is a Nook Mile reward for just that, which is some consolation. The presents shot down usually contain furniture, which can be sold if it isn’t to your taste.
Eating Too Much Fruit Might Make Things Go Pear-Shaped
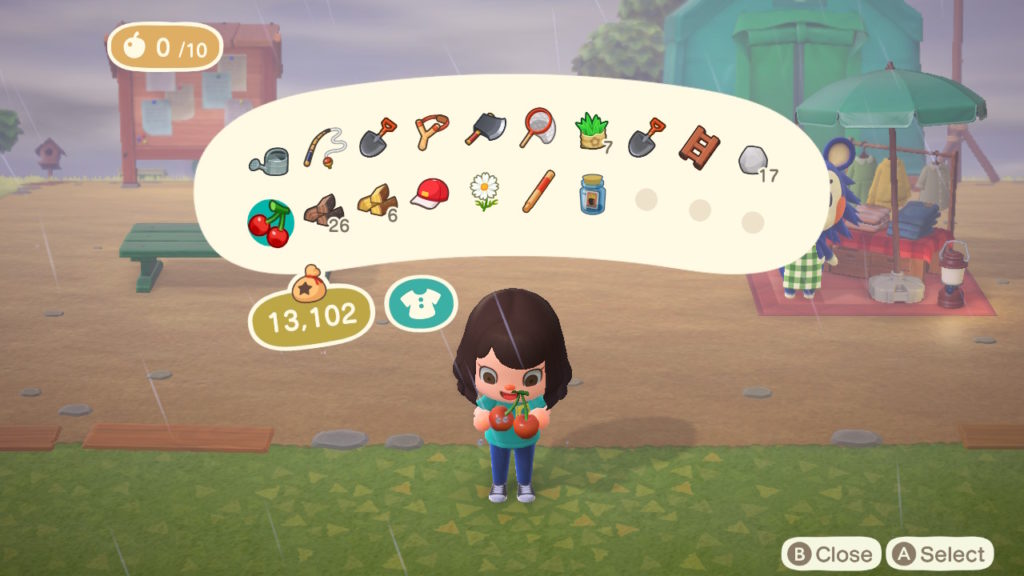
Eating just one piece of fruit will give you more strength. Like the sort of strength that allows you to uproot and relocate entire trees. If you hit a rock after eating a piece of fruit, it will obliterate it completely. This is a useful way of getting more resources from a rock. However, you may want to save the rock-smashing for when you visit other deserted islands in order to preserve your own rocks. Whilst eating too much fruit won’t have an unpleasant effect on your player’s digestive system, your extra strength could wreak havoc on your island if you’re not careful. Thankfully, the effects of the fruit will wear off. You will see the fruit counter in the top left of your screen gradually drop over time. Once enough time has passed, it will disappear completely from your screen.
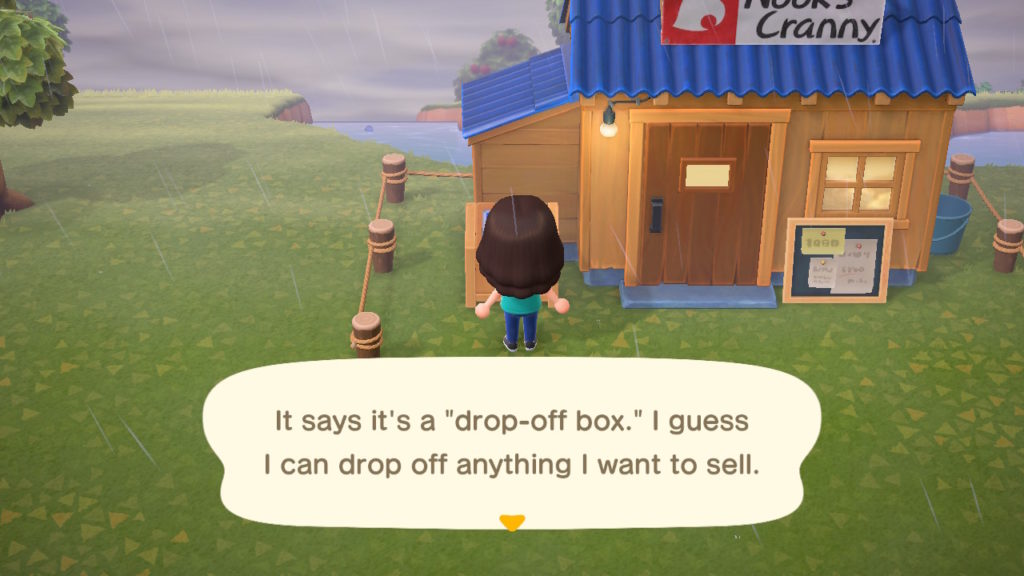
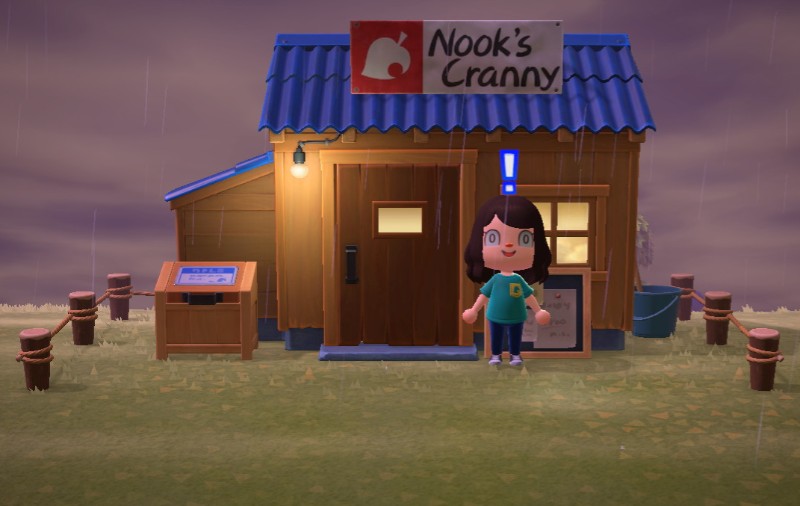
The Nook’s Cranny Drop-Off Box
The drop-off box outside of Nook’s Cranny can be used to sell items when the store is closed. However, there’s a few things that are worth noting. If you do sell items using the drop-off box, you’ll only get 80% of what the Nooklings would pay during opening hours. Additionally, you won’t receive the bells for any items sold until the next day. The funds will be paid into your bank account, which you can access using the Nook Stop Terminal. Turnips cannot be sold using the drop-off box. And finally, you will not be paid double for selling that day’s ‘hot item’ via the drop-off box.

What do you think?
Show comments / Leave a comment