All posts tagged in New Horizons tips
 Apr 18, 2020
There are some tips and tricks in the game that Nintendo don’t exactly tell you about. However, there also some lesser known cool little ‘secrets’ in Animal Crossing: New Horizons!
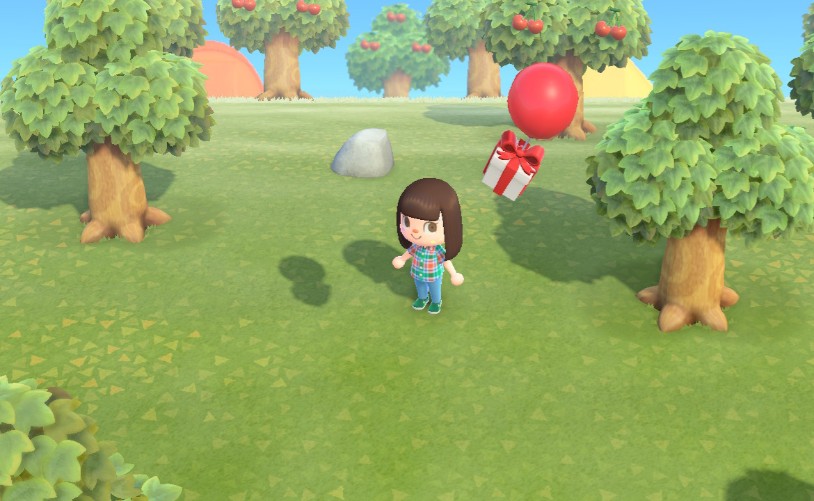
Popping balloons with a bug net
Providing you have a ladder and bug net at the right place and time, you can actually pop balloons with a bug net. simply ascend a cliff to a higher level and whack the balloon present with a net as it flies past. This isn’t particularly useful, as a slingshot is much easier, but is cool nonetheless.
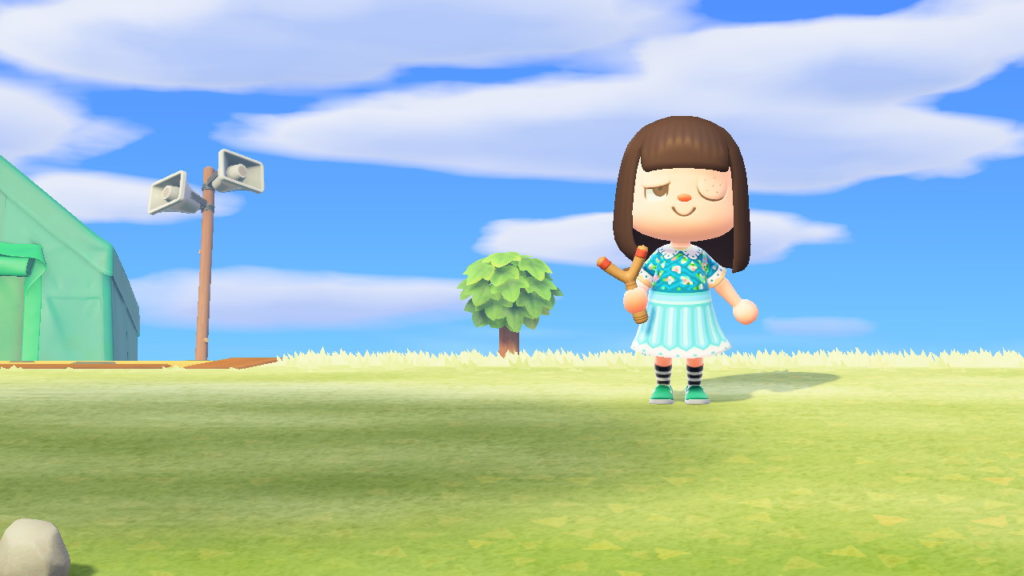
Scaring off wasps with party popppers
If you have a party popper on you whilst shaking a tree containing a wasp nest, you don’t have to try amd catch them, or run for shelter. Instead, you can scare them off with a party popper. Party poppers can be purchased at Nook’s Cranny for 100 bells a ‘pop’.
Eat Turnips to fill up your fruit meter faster
As turnips are in bundles of ten, if you eat one (10) from your pockets, it will fill up your fruit meter and make moving trees much faster.
Residents can play musical instruments
Residents can play (certain) instruments placed around the island. (The ones that you can simply walk up to and press A to play notes).
Residents can play specific songs on instruments
If you catch a resident playing an instrument, place a stereo/music player, select a song, and the resident will play along to that song.
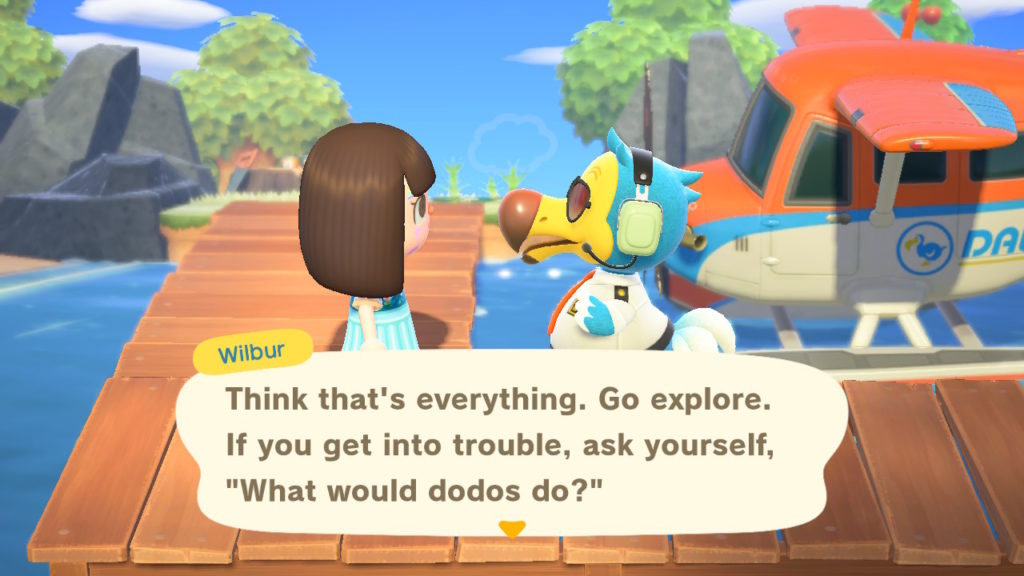
Boundary breaking in the aiport allows the players to interact with Wilbur
For those that are into boundary breaking and no-clipping (and those that aren’t), this is pretty cool. If you visit another players island and boundary break past the airport gate, you will find Wilbur and can talk to him. If you do this on your own island, he will still be there, but there will be empty dialogue upon interacting with him.
- Apr 16, 2020
Santa just returned to the north-pole and thousands of new players are starting their Animal Crossing New Horizons Island Getaway Adventure – here some things you should know before getting started.
With New Horizons having been released for nearly a year now, we’ve all got a pretty good idea of what we’re doing. However, the saying ‘you learn something new every day’ rang true for me! And sharing is caring right? So here’s some handy to know tips & tricks in Animal Crossing: New Horizons.
- If you take a while to collect Wisp’s spirit pieces, they tend to float around residents services to make things a bit easier for you.
- Keep a few tree stumps on your island in order to catch certain insects and add them to your critterpedia.
- Always hold a net when shaking trees (and do this before chopping at one with an axe). This way you can catch any wasps if you’re lucky. If you catch wasps 5 times in a row without getting stung, you will receive 1,000 Nook Miles for the ‘Netting Better!’ award.
- If you speak to Sable every day, she’ll warm to you and eventually start giving you daily patterns to use when customizing furniture. (You’ll also get an insight into the relationship and history of Sable, Mabel, and Label).
- Be sure to dig the glowing spots on your island each day. You’ll dig up bells and can plant a money tree in the glowing hole. But don’t just settle for burying what you just dug up, if you plant 10,000 bells from your inventory instead, you’ll be harvesting 20,000 bells each day.
- Make sure to pop into residents’ houses if they have a crafting bench. If you catch them crafting something, they will give you the recipe for it. There are some cute crafting benches out there, so even if you want to keep a resident’s house cute, you can give them a nice bench AND profit by getting more DIY recipes
- You can actually put items in trash cans that you place around the island. This I did not now until now.
- Make sure to check the recycling box regularly, even if you are the only human player. You’ll find other items in there from time to time.
- On a similar note, the recycling box is a good place to find cardboard boxes. Ensure to collect things such as cardboard boxes, shells, iron, and even weeds. If you invite someone to your campsite and they request something, you’ll only have a day to craft it, and may have insufficient materials.
- If you have a stack of flowers that you wish to keep on you, but need an extra storage slot, worry not! You can wear all 10 at once, without it even looking like you’re wearing more than one!
Ruste Communicator Parts
Have you found some rusted communicator parts? Find out what you can do with them here.
- Mar 22, 2020
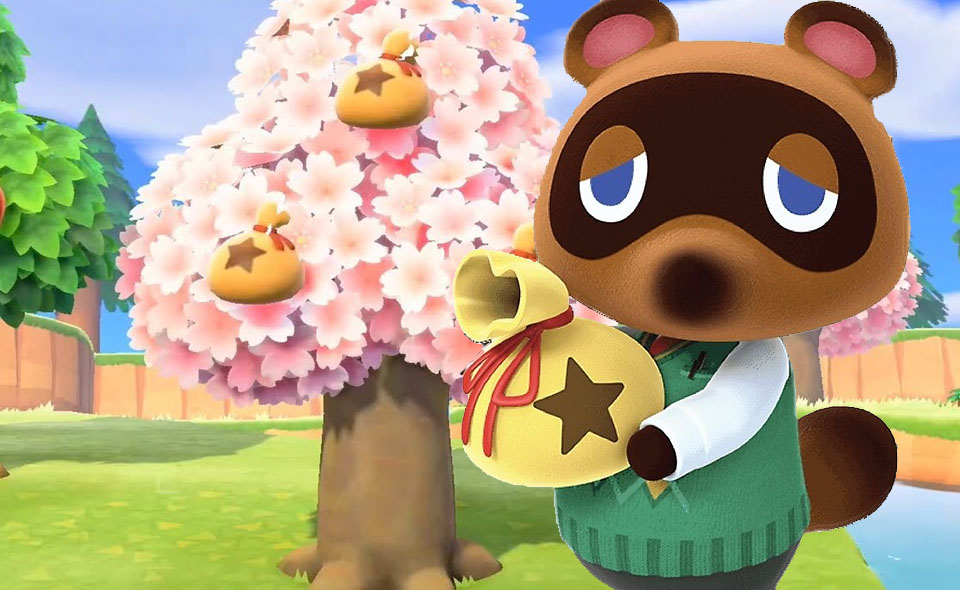
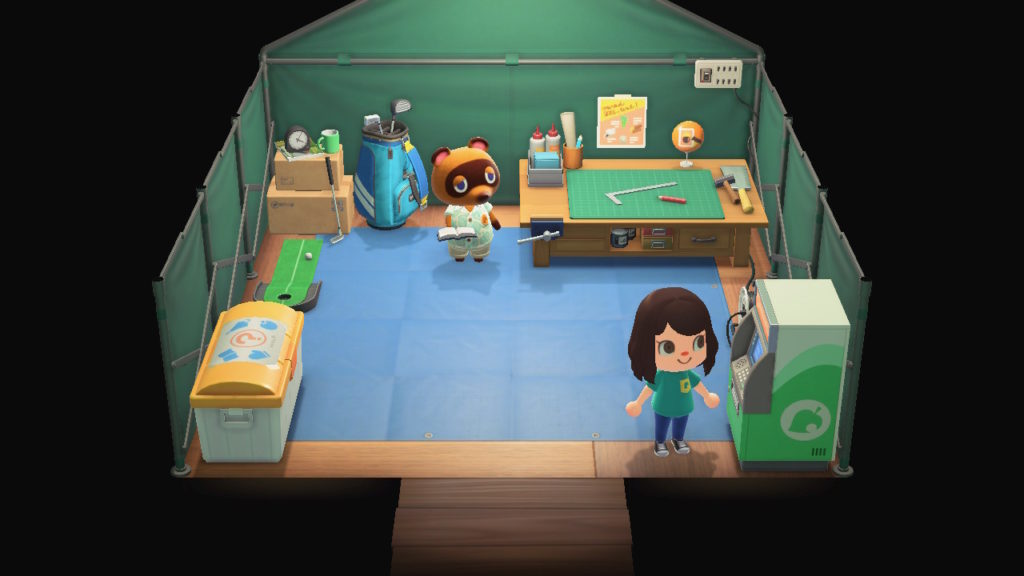
Access The Nook Stop Terminal Every Day
Everytime you access the Nook Stop Terminal, you will be rewarded with Nook Miles simply for checking in for that day. However, the amount of Nook Miles awarded for checking in increases with every consecutive day that you do so. You will receive 50 Nook Miles when you first interact with the terminal. This amount will increase each day, up until day 7 where the amount will be capped to 300 Nook Miles. You will continue to receive 300 Nook Miles from the terminal for every consecutive day you interact with it.
Beware Of Dangerous Creatures
Although you will only be able to access a small part of your island initially, you’d be surprised at the amount of dangerous creatures you may encounter. A lot of DIY recipes in the game require wood. In order to obtain wood, you need to hit trees with an axe. And therefore sooner rather than later you are going to encounter wasps unfortunately. Wasps essentially replace the role of bees in the previous mainline animal crossing games. In previous games, shaking trees ran the risk of disturbing a beehive, which would result in an angry swarm of bees chasing and stinging you unless you could seek shelter in a nearby building. The wasps are just as angry as those bees, and so stocking up on medicine is a very good idea. Medicine can be purchased from Timmy in the Residents Service Tent, or from Nook’s Cranny once you have unlocked it.
Scorpions and tarantulas also roam your island. Thankfully for the arachnophobes amongst us, they only come out at night. If you discover one, my advice is to run for your life, as if they catch sight of you they will chase you and attack. You will then faint and be sent back to your house. They do fetch a pretty penny if you manage to catch one, so if you’re crazy enough to want to do so, here’s some guidance on how to catch a tarantula or scorpion.
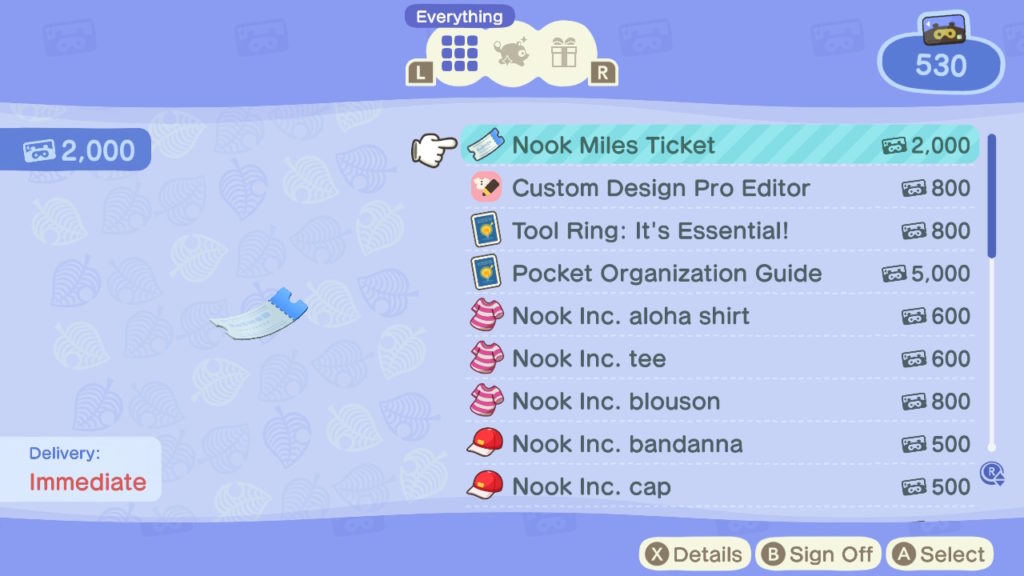
Pocket Organization Guide
Be sure to get the Pocket Organization Guide as soon as possible in order to maximise the number of slots in your inventory. 20 inventory slots might seem like a lot. However, with the crafting element of the game requiring resources, you will soon find yourself needing more slots. You can expand your upgrade to 30 inventory slots by purchasing the Pocket Organization Guide for 5,000 Nook Miles from the Nook Stop terminal at Resident Services. Later on in the game, you will be able to have 40 inventory slots with an upgrade called ‘Ultimate Pocket Stuffing’. This upgrade will cost you 8,000 Nook Miles.

Not All Tools Will Be Craftable Straight Away
You may be disappointed to find that you can’t craft all of the tools you want straight away. Tom Nook will give you a recipe for a flimsy fishing rod and flimsy net, which can be crafted at the workbench in the Residents Services tent. The slingshot and watering can recipes can be bought from the nooklings, although you may have to wait a few days as the recipes rotate. In theory, you are only able to get the shovel recipe (and vaulting pole recipe) once Blathers visits the island. Once you craft a shovel, you can hit rocks to get the iron nuggets necessary to craft an axe. But to save time, there’s a bit of a loophole to speed things up. If you purchase a Nook Miles Ticket from the Nook Stop terminal for 2,000 Nook miles, you can head to the airport and visit a randomly selected deserted island. Once there, speak with Wilbur and you will be able to purchase any flimsy tool for 100 miles each. You can bring back these tools, as well as anything you find on that deserted island back home with you.
Other perks of using a Nook Miles ticket
As well as being able to buy tools from Wilbur, there are other perks to visiting a deserted island. Before unlocking the vaulting pole and ladder, collecting the iron nuggets necessary for DIY recipes can be frustratingly slow-going. Visiting a deserted island gives you the opportunity to hit more rocks with a shovel and obtain resources. In addition to this, deserted islands may have fruit different to your native fruit and plenty of fauna and critters. You may even encounter a character there who you’d like on your island. After chatting with them a couple of times, you will be able to invite them to your own island.
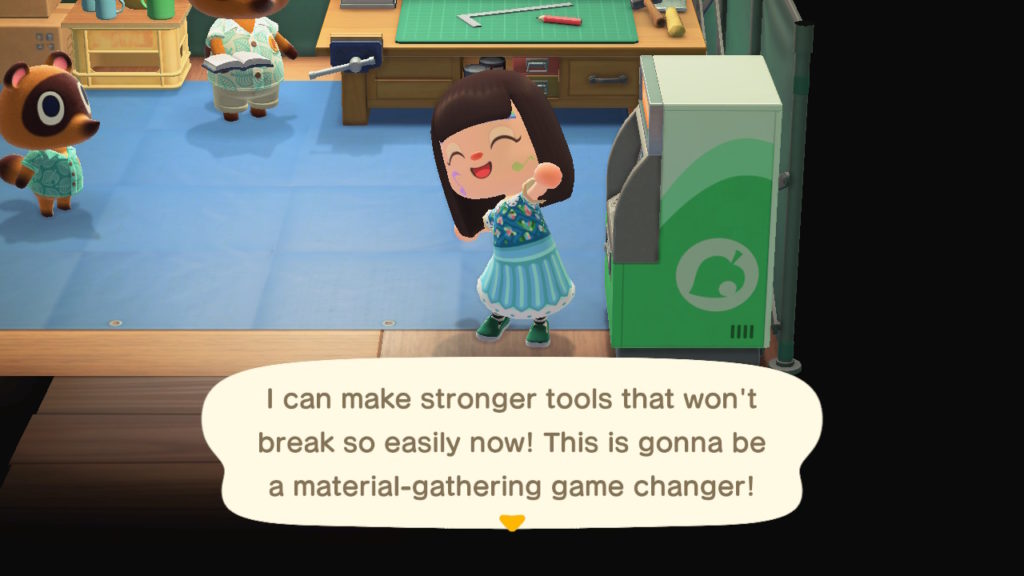
Only Fools Use Flimsy Tools
Once you have acquired a decent amount of iron nuggets, it’s a good idea to purchase the ‘Pretty Good Tools Recipes’ item. This can be obtained from the Nook Stop Terminal for 3,000 Nook Miles. The cost may seem a bit steep, but it’s totally worth the investment. As soon as you purchase it, you can craft stronger tools which last a lot longer than their flimsy predecessors.
Beware How Many Whacks You Give A Tree With Your Axe
The flimsy axe and stone axe are craftable relatively early on in the game. Neither of these two axes are strong enough to fell a tree. Therefore you may wish to upgrade to the simply-named ‘axe’ if you wish to chop down any trees, or find that your flimsier axes are breaking frequently. The ‘axe’ is stronger than its predecessors. Therefore when collecting wood for DIY recipes, be careful not to chop at a tree more than twice, as the third blow will take it down.
Make Sure You Have A Slingshot
A slingshot can be purchased for 900 bells, or crafted with 5 pieces of hardwood. Once you own a slingshot, make sure to look (and listen) out for floating balloons with presents attached. One way of noticing a nearby balloon is listening for the whooshing sound it makes as it floats by. When equipping your slingshot to shoot the floating present down, make sure that it won’t fall into a river or other body of water. However, there is a Nook Mile reward for just that, which is some consolation. The presents shot down usually contain furniture, which can be sold if it isn’t to your taste.

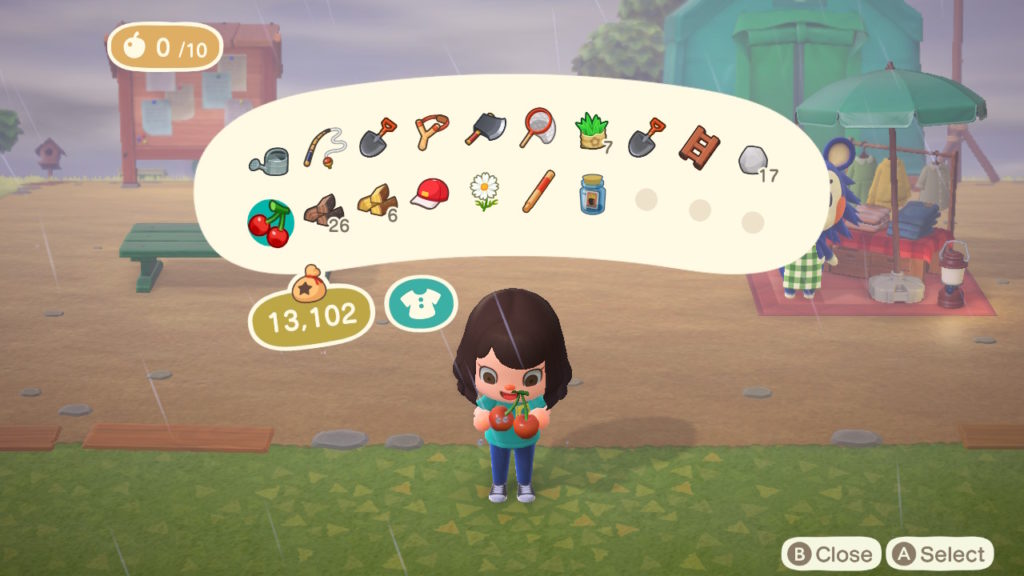
Eating Too Much Fruit Might Make Things Go Pear-Shaped
Eating just one piece of fruit will give you more strength. Like the sort of strength that allows you to uproot and relocate entire trees. If you hit a rock after eating a piece of fruit, it will obliterate it completely. This is a useful way of getting more resources from a rock. However, you may want to save the rock-smashing for when you visit other deserted islands in order to preserve your own rocks. Whilst eating too much fruit won’t have an unpleasant effect on your player’s digestive system, your extra strength could wreak havoc on your island if you’re not careful. Thankfully, the effects of the fruit will wear off. You will see the fruit counter in the top left of your screen gradually drop over time. Once enough time has passed, it will disappear completely from your screen.
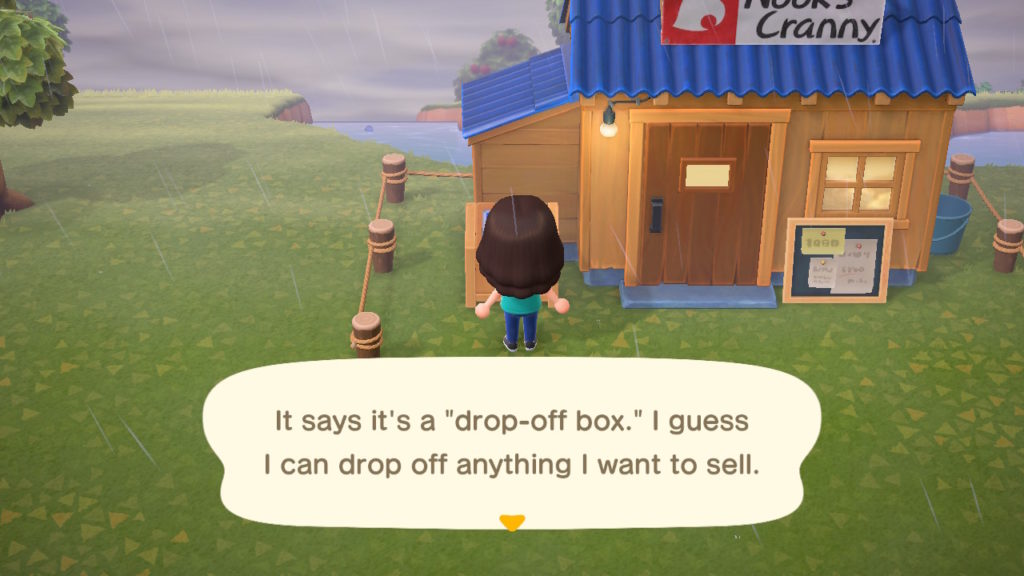
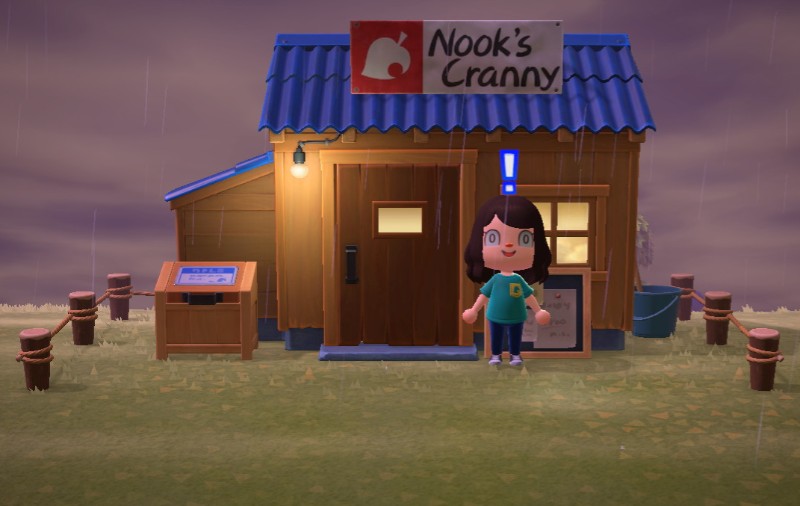
The Nook’s Cranny Drop-Off Box
The drop-off box outside of Nook’s Cranny can be used to sell items when the store is closed. However, there’s a few things that are worth noting. If you do sell items using the drop-off box, you’ll only get 80% of what the Nooklings would pay during opening hours. Additionally, you won’t receive the bells for any items sold until the next day. The funds will be paid into your bank account, which you can access using the Nook Stop Terminal. Turnips cannot be sold using the drop-off box. And finally, you will not be paid double for selling that day’s ‘hot item’ via the drop-off box.